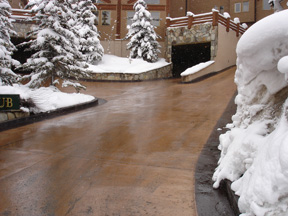
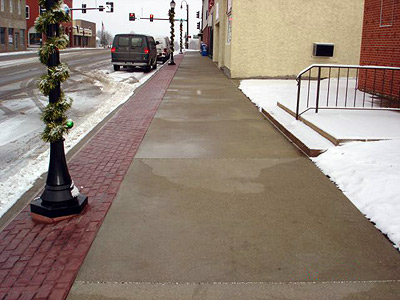
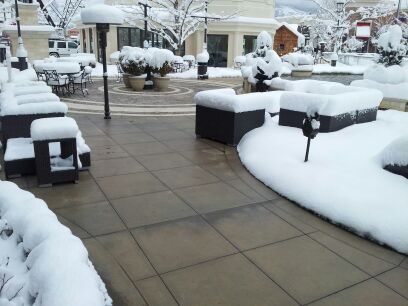
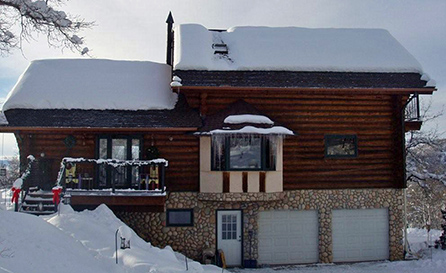
Winter is one of the most beautiful times of year, but heavy snow can be another time-consuming chore added to homeowners’ already lengthy list. Not only does heavy snow block driveways and walkways, but ice dams and snow buildup can be hazardous and lead to problems inside and outside of the home. A damaged roof can result in water damage, as well as mold and mildew growth inside the home.
ProLine Radiant offers efficient, easy-to-install solutions to keep residential and commercial roofs clear and safe this cold winter season. Whether you’re looking to heat the whole roof, roof edges, problem areas, or just the valleys or gutters, the versatile systems offered by ProLine are hassle free and a great investment in convenience and safety. ProLine Radiant’s most trusted roof deicing systems are self-regulated, ensuring that no overheating occurs and that each deicing system is energy efficient. ProLine roof deicing systems can be easily customized for any application, as they can be installed on new construction applications as well as remodeling projects.
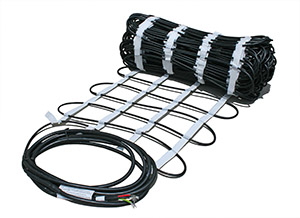
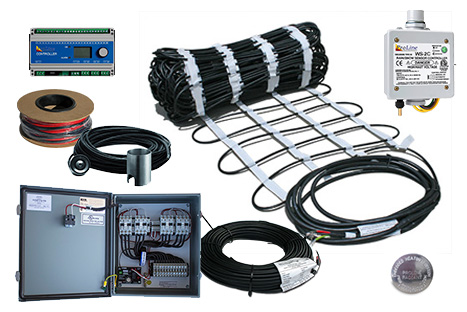
ProLine’s low-voltage deicing system is a great option for keeping roofs snow and ice free. They can be installed under almost any roofing material, including shingles and metal. These efficient systems consist of a power unit, a heating element, and a thermostat / activation device. The heating element consists of a thin, low-voltage polymer heating panel that can be cut on site and then stapled or nailed directly to the roof for quick and easy installation. This industry leading element is also polypropylene fused to ensure it is waterproof and protected from salt and alkaline damage.
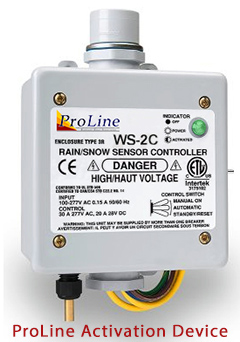
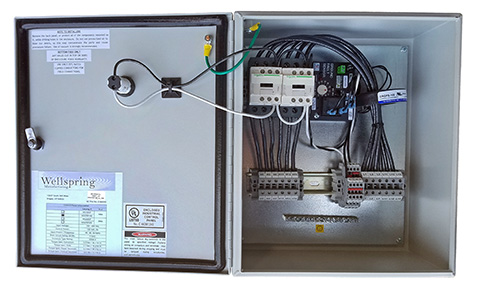
The power units for this system are transformers that use low-voltage (60v or less) power to heat individual sections. Individual control boxes monitor power output to the heating elements to ensure safe, optimum performance from your low-voltage deicing system. The final piece of the system is an activation device that uses a remote sensor to detect temperature and activate the system when it is needed. For the low-voltage roof heating system, ProLine recommends the state of the art STEP Touch Thermostat. This aesthetically pleasing unit features a user-friendly LED display with easy-to-use functions to control the system. The thermostat is battery free and stores your settings in memory in case of a power outage. The STEP low-voltage system is a thoughtfully designed system to consider when choosing a radiant heated roof deicing system for your home, but it isn’t the only one available at ProLine.
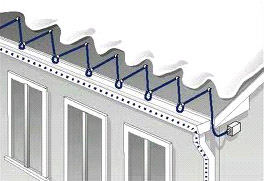
ProLine offers a variety of self-regulating heat trace cable for roof deicing as well as pipe tracing applications. PLSRL and PLSRR cables offer home and business owners a proven and affordable roof deicing solution. The cables are highly versatile, and can be installed on roofs in trouble spots such as valleys, along roof eaves, in downspouts and gutters, as well as for use in pipe tracing applications. The cables consist of 16 AWG nickel-plated copper bus wire gauge surrounded by a heavy-duty outer layer of Fluoropolymer, thermoplastic, or tinned copper braid (depending on the customer’s choice) to protect it from the harsh elements.
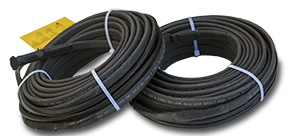
The advanced self-regulating core allows the heat output to fall and rise, depending on the temperature changes. Built for durability and ease of use, ProLine’s roof heating options are among the industry’s best. The heat trace cable meets NEC code 426 and is UL recognized, making it reliable, safe, and economical. ProLine Radiant’s self-regulating heat trace cable is an excellent and affordable option for small or large applications, and can help protect homes from potentially costly ice dams and dangerous icicles.
Roof deicing systems from ProLine can also be easily customized to meet your customer’s specific project needs. While both the low-voltage and the self-regulating heat trace cable are popular roof heating solutions, the two can be combined to create the perfect system for residential or commercial applications. Whatever the demands may be, a ProLine professional can help you create the perfect customized solution for your project.
Unlike other wholesale providers, ProLine includes unparalleled professional customer and design services, including free installation training and technical support. For more information on roof deicing or other ProLine products, or to sign up for free training, contact a ProLine professional today at 866.676.9276.